
Views: 0 Author: Site Editor Publish Time: 2026-08-21 Origin: Site


A dull, stretched, or broken chainsaw chain brings work to a hard stop. Guessing the size of a replacement introduces severe safety hazards and risks catastrophic equipment damage. Chainsaw chains are not universal. Purchasing a replacement based solely on the brand or the advertised bar length often results in an incompatible fit. Over time, manufacturer stamps wear off from heavy field use, leaving operators with no choice but to determine the exact specifications manually. To secure a safe, exact-fit replacement, operators must evaluate three non-negotiable metrics: pitch, gauge, and drive link count. This guide details exactly how to measure chainsaw chain specifications, decode manufacturer details, and evaluate replacement options to restore equipment performance safely.
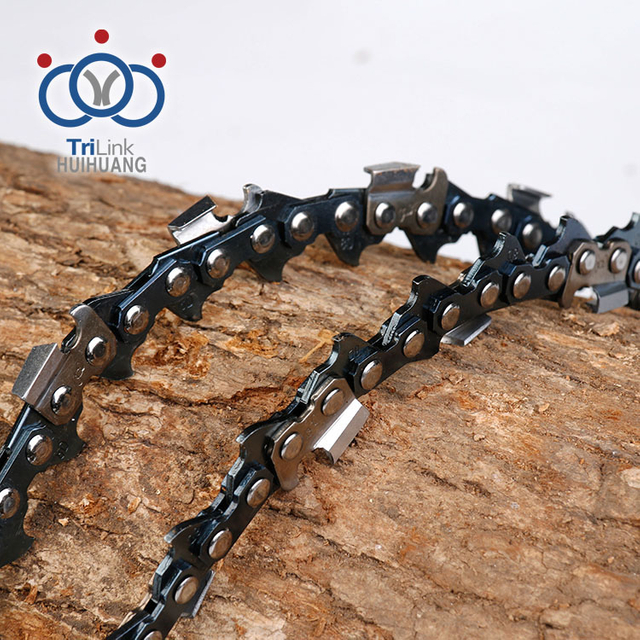
Three Metrics Dictate Fit: A correct replacement chain requires an exact match of Pitch (drive link spacing), Gauge (drive link thickness), and Drive Link Count (total chain length).
Bar Length is a Secondary Metric: Measuring the guide bar provides the "called length" for purchasing categories, but it does not provide the precise tolerances required to match the chain to the drive sprocket.
Check the Bar Stamp First: Before measuring manually, locate the manufacturer’s stamp on the heel of the guide bar, which typically lists the exact pitch, gauge, and link count required (e.g., 3/8"-0.050"-72).
Zero Tolerance for Mismatches: Installing a chain with an incorrect pitch or gauge will cause accelerated sprocket wear, bar rail damage, and high-risk chain derailment.
Table of Contents
To evaluate any replacement chain, operators must understand the structural anatomy of the chain itself. Success requires matching the chain to both the guide bar and the internal drive sprocket. A chainsaw chain consists of drive links, tie straps, and cutters held together by rivets. The physical dimensions of these components dictate compatibility. You cannot force a fit. If the measurements are off by even a fraction of an inch, the saw will not operate correctly.
Pitch defines the exact distance between any three consecutive rivets divided by two. This measurement determines the overall size and profile of the chain. It ensures the links mesh perfectly with the drive sprocket at the engine and the bar-tip sprocket at the nose. If the pitch is incorrect, the chain will not seat into the sprocket teeth.
Common pitch sizes include 1/4", .325", 3/8", 3/8" Low Profile (Picco), and .404". Smaller, consumer-grade saws and pole pruners typically utilize 1/4" or .325" pitch chains. These smaller profiles reduce weight and require less engine power to pull through the wood. Larger, professional-grade saws require 3/8" or .404" pitches. These larger chains handle higher engine torque and clear massive amounts of wood fiber during heavy felling operations.
Chain Pitch | Typical Saw Displacement (cc) | Common Application |
|---|---|---|
1/4" | Up to 38cc | Pole pruners, carving saws, battery models |
.325" | 38cc to 60cc | Mid-range firewood saws, farm use |
3/8" Low Profile | Up to 45cc | Homeowner saws, lightweight arborists |
3/8" Standard | 50cc to 100cc | Professional logging, heavy felling |
.404" | 85cc and above | Harvester machines, massive timber felling |
Gauge represents the physical width of the drive link that slots directly into the groove of the guide bar. The drive link is the bottom section of the chain resembling a shark fin. The gauge keeps the chain tracking perfectly straight during high-speed operation. It also acts as the primary conduit for pulling bar oil around the rail system to lubricate the cutting surface.
Manufacturers produce chains in four primary gauge sizes: .043" (1.1mm), .050" (1.3mm), .058" (1.5mm), and .063" (1.6mm). Battery-powered and lightweight saws often use the narrow .043" gauge to reduce drag. Standard gas-powered saws in North America heavily favor the .050" gauge. European models and heavy-duty professional saws frequently utilize the thicker .058" and .063" gauges for added structural stability under heavy loads.
The drive link count identifies the total number of drive links on the entire loop of the chain. This metric dictates the exact circumference of the chain. It ensures the chainsaw tensioning mechanism can properly tighten the loop against the guide bar. Chainsaw chains stretch slightly over their lifespan as the rivets wear down, but the physical number of drive links never changes. You must match this number exactly to ensure the tensioner has enough travel distance to secure the chain.
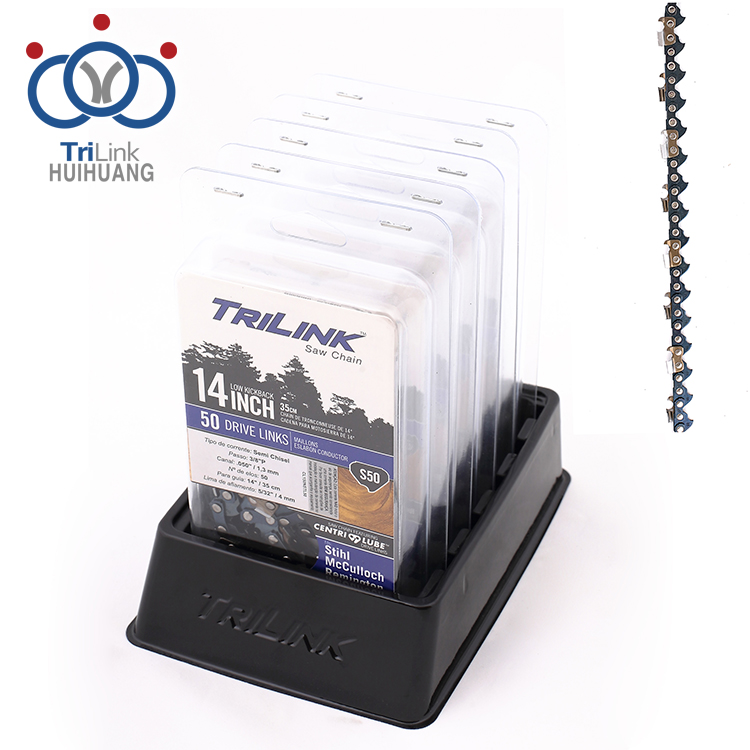
When bar stamps wear away from friction, heat, and tree sap, operators must extract the measurements directly from the old chain. Manual measurement requires precision. For safety and accuracy, always remove the chain entirely from the saw before beginning the measurement process. Disconnect the spark plug wire, loosen the bar nuts, release the chain tension, and pull the chain free from the clutch drum. Wear heavy leather gloves to protect your hands from the sharp cutters.
Calculate Chain Pitch (The 3-Rivet Rule): Lay the removed chain flat on a stable workbench. Pull the loop taut to remove any slack between the links. Select any three consecutive rivets. Rivets are the small circular pins holding the chain chassis together. Do not measure just two rivets, as the spacing between tie straps and cutter links varies slightly. Use a precision tape measure or a digital caliper. Measure the exact distance from the center point of the first rivet to the center point of the third rivet. Divide that measurement by two to find the true pitch. For example, a measurement of 3/4" divided by 2 equals a 3/8" pitch. A measurement of 0.65" divided by 2 equals a .325" pitch. Record this number immediately.
Measure Chain Gauge (Calipers and the Coin Trick): The primary and most accurate method for measuring gauge involves a digital caliper. First, clean the bottom portion of a drive link thoroughly with a rag and solvent. Debris, dried sap, and bar oil add artificial thickness and cause false readings. Clamp the digital caliper jaws over the clean drive link and read the measurement in thousandths of an inch. If calipers are unavailable in the field, operators can use the coin trick. Clean the groove of the guide bar using a specialized bar tool or a flathead screwdriver. Slide a quarter, penny, or dime into the clean groove to test the fit.
Count the Drive Links Accurately: Ensure the chain lays completely flat on the workbench. Mark the starting drive link with a permanent marker, a dot of bright paint, or a small piece of masking tape. This prevents losing your place and double-counting links. Count the drive links one by one until returning to the marked starting point. Always count the bottom teeth that sit inside the bar groove. Never estimate the link count based on the number of top cutting teeth. Sequence spacing varies wildly between full skip, semi-skip, and standard chain configurations. Counting cutters will always result in an incorrect total length and a useless replacement chain.
Coin Type | Approximate Thickness | Corresponding Chain Gauge |
|---|---|---|
Dime | 0.053 inches | 0.050" Gauge |
Penny | 0.060 inches | 0.058" Gauge |
Quarter | 0.067 inches | 0.063" Gauge |
If a dime fits snugly with no lateral play, the saw requires a .050" gauge chain. If a penny fits perfectly, source a .058" gauge chain. If a quarter slots in securely, the system uses a .063" gauge. Never force a coin into the groove, as this can damage the bar rails and pinch the track.
Manual measurement leaves room for human error. The most reliable method for sourcing a replacement involves locating the original equipment manufacturer specifications directly on the chainsaw components. Manufacturers stamp these details into the metal before the saw leaves the factory. Finding these numbers saves time and guarantees a perfect fit.
Locate the heel of the guide bar. This is the wide end of the bar closest to the engine casing and the clutch cover. Look closely for a stamped or laser-etched sequence of numbers. You may need to wipe away grease, sawdust, and sap with a wire brush or steel wool to reveal the engraving. Husqvarna typically places this stamp near the mounting slot, while Stihl often places it near the oil hole.
Identify the format. Most major manufacturers use a standard layout detailing Bar Length, Pitch, Gauge, and Drive Link Count in a single string of text. An example sequence looks like 18" 3/8 .050 72DL. This translates to an 18-inch bar requiring a 3/8" pitch, .050" gauge chain with exactly 72 drive links. If you find this stamp, you can bypass manual measurement entirely.
If the bar stamp is illegible, examine the drive links on the old chain itself. Many premium chain brands stamp identification numbers directly onto the side of the drive links. You can cross-reference these numbers to determine pitch and gauge.
Oregon chains utilize a specific two-digit numbering system. A number like "72" stamped on the drive link indicates a 3/8" pitch and a .050" gauge. The number "73" indicates a 3/8" pitch and .058" gauge. The number "75" indicates a 3/8" pitch and .063" gauge.
Stihl chains use a proprietary numbering system located on the side of the cutter or the drive link. The first number dictates the pitch, and the second number dictates the gauge. A "3" indicates a 3/8" pitch. A "6" indicates a .063" gauge. Therefore, a chain stamped with "36" represents a 3/8" pitch and .063" gauge configuration.
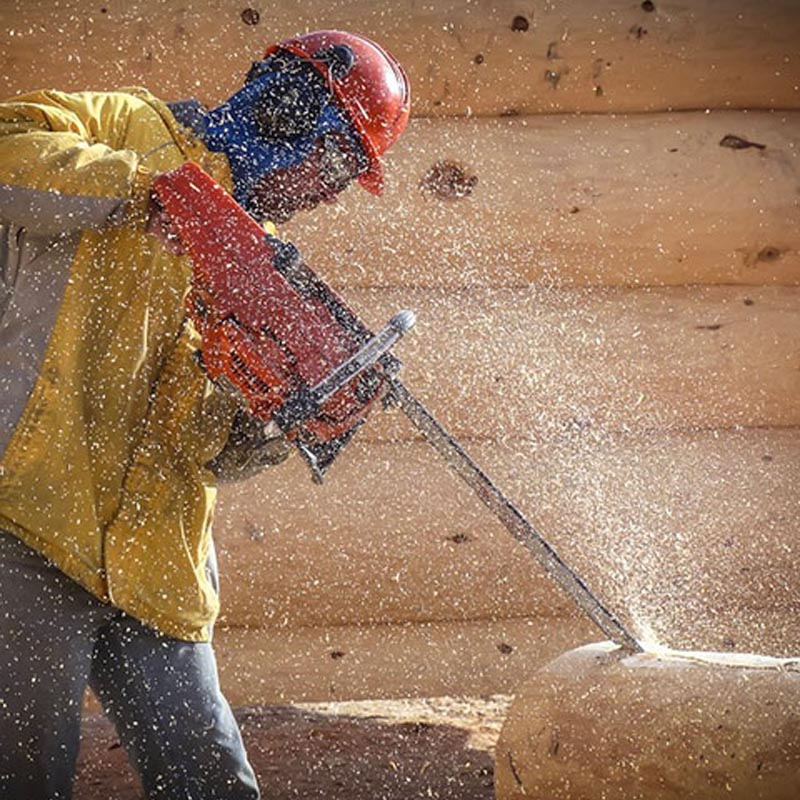
A frequent purchasing error involves buying a chain based solely on the advertised bar length. Retail stores often categorize chains by bar length, leading consumers to believe all 20-inch chains are identical. A 20-inch bar from Husqvarna may require 72 drive links, while a 20-inch bar from Stihl might require 74 drive links. The bar length only provides a baseline category. It does not account for the specific geometry of the saw's mounting pad or the size of the drive sprocket.
The "called length" represents the usable cutting length of the chainsaw. It does not represent the physical end-to-end length of the metal bar. A guide bar with a 16-inch called length actually measures closer to 20 inches from tip to tail when removed from the saw. A significant portion of the bar sits hidden behind the clutch cover to support the tensioning mechanism and align with the oil port.
Place the fully assembled chainsaw on a flat surface like a workbench. Ensure the chain is properly tensioned. Place a tape measure at the very tip of the bar on the outward-facing edge. Measure straight back along the bar to the exact point where the metal enters the chainsaw body casing.
Round that measurement to the nearest even number. For instance, a measurement of 15.75 inches becomes a 16-inch called length. A measurement of 19.5 inches rounds up to a 20-inch called length. Use this number strictly as a baseline category for shopping. Never use the called length as a final sizing metric for purchasing a chain.
Bypassing exact measurement tolerances introduces severe mechanical and safety failures. Chainsaws operate at extreme speeds, often exceeding 10,000 revolutions per minute. Operators must understand the catastrophic consequences of running mismatched components. A poorly fitted chain will destroy the saw and put the user in immediate danger.
Running a .325" chain on a 3/8" sprocket causes the drive links to ride up on the outer edges of the sprocket teeth. The chain will not seat into the designated grooves. This leads to immediate drive system failure. The friction will strip the sprocket teeth smooth, overheat the clutch mechanism, and potentially destroy the clutch drum. The chain itself will suffer severe structural damage, stretching the tie straps beyond repair. Replacing a ruined clutch drum and oil pump assembly costs significantly more than buying the correct chain.
If the chain gauge is too small for the bar groove, the chain will lean side-to-side during operation. This lateral movement causes crooked, wandering cuts. It accelerates wear on the inner bar rails, rounding them off permanently. More importantly, a loose gauge creates a massive safety hazard, drastically increasing the risk of the chain throwing off the bar at high speed.
If the chain gauge is too large, the drive links will bind tightly inside the bar groove. The engine will struggle to pull the chain around the nose. This extreme friction overheats the engine, burns the bar oil instantly, and scorches the metal guide bar, turning the rails blue from heat damage. You will likely stall the saw repeatedly before realizing the gauge is incorrect.
Being off by even one single drive link ruins the functionality of the saw. If the chain is one link too short, you cannot pull it over the nose sprocket during installation. If the chain is one link too long, the chainsaw tensioning pin will max out its travel distance before the chain becomes tight. This results in a sagging chain that hangs below the bar rails. Operating a saw with a sagging chain guarantees derailment.
Once the exact Pitch, Gauge, and Drive Link count are established, operators must evaluate cutter styles, sequences, and safety ratings. These secondary choices depend entirely on the specific cutting application, the type of wood, and the experience level of the operator. Matching the cutter type to the job improves efficiency and reduces wear on the powerhead.
Full chisel chains feature square-cornered teeth. They provide fast, aggressive cutting action in clean, green softwood. Professional loggers favor full chisel chains for maximum production speed. However, the sharp square corners dull rapidly if they contact dirt, rocks, or frozen timber. They also require precise filing angles to maintain their edge.
Semi-chisel chains feature round-cornered teeth. They cut slightly slower than full chisel variants but hold a sharp edge significantly longer in harsh conditions. Semi-chisel chains excel in dirty wood, dry firewood, and frozen logs. They are also much easier to sharpen manually with a round file, making them ideal for field maintenance.
Standard sequence chains feature a full complement of cutting teeth, with one tie strap between each cutter. They provide smooth, clean cuts and minimize vibration. Standard chains are ideal for shorter bars up to 24 inches.
Skip sequence or semi-skip sequence chains feature fewer cutting teeth with wider spacing between them. Manufacturers design these specifically for long bars used in large felling operations. Fewer teeth mean less drag on the engine, allowing the saw to maintain high RPMs in massive cuts. The wider spacing also clears large volumes of sawdust efficiently, preventing the cut from clogging.
The industry uses a color-coded safety rating system to identify kickback reduction features. Green label chains represent low-kickback designs. They feature specialized bumper drive links that prevent the cutter from taking too deep of a bite as it travels around the upper quadrant of the bar tip. This mitigates violent kickback reactions. Green label chains are highly recommended for homeowners and casual users.
Yellow label chains represent standard or professional chains without kickback reduction features. They offer faster plunge cutting capabilities and aggressive bore cutting performance. However, they require advanced operator experience and strict adherence to safety protocols.
Chainsaw chains remain entirely interchangeable between different brands. You can successfully run an Oregon chain on a Stihl saw, or a Husqvarna chain on an Echo saw. The brand name on the box does not matter. The only requirement is that the pitch, gauge, and drive link count match the exact specifications of the guide bar and drive sprocket.
Remove the old chain and clean the guide bar groove thoroughly with a specialized tool or flathead screwdriver to remove packed sawdust and dried sap.
Inspect the heel of the guide bar for stamped OEM specifications to identify the exact pitch, gauge, and drive link count before attempting manual measurements.
Use a digital caliper to measure the drive link thickness if the bar stamp is illegible, ensuring you measure a clean link free of debris.
Mark your starting drive link with a permanent marker and count the bottom links twice to guarantee an accurate total length.
Purchase a replacement chain that matches your specific cutting environment, opting for semi-chisel cutters if working in dirty or frozen wood.
For users and professionals looking for reliable chainsaw chain solutions, Zhejiang TriLink Huihuang Co. LTD focuses on saw chain products for a variety of cutting and forestry applications. By considering key specifications such as pitch, gauge, drive link count, and application requirements, customers can identify suitable chain options for their equipment and cutting needs.
A: Yes. You can use any brand of replacement chain as long as the pitch, gauge, and drive link count exactly match the specifications of your guide bar and drive sprocket. Brand interchangeability is standard practice in the forestry industry.
A: A chain with an extra drive link will not tension properly. The internal tensioning mechanism will max out its travel distance before the chain becomes tight. This results in a sagging chain that can easily derail during operation, creating a severe safety hazard.
A: Measure the distance between three consecutive rivets using a digital caliper and divide that number by two. A measurement of 0.75 inches divided by two equals a 3/8 inch pitch. A measurement of 0.65 inches divided by two equals a 0.325 inch pitch.
A: No. The number of cutting teeth varies drastically based on the chain sequence, such as standard, semi-skip, or full skip configurations. Always count the drive links on the bottom of the chain to determine the true length.
A: If the new chain fails to seat properly onto the drive sprocket, the pitch measurement is incorrect. Running a mismatched pitch will destroy the sprocket, the clutch drum, and the chain itself. Always verify the pitch before installation.
A: No. A standard tape measure lacks the precision required to measure gauge in thousandths of an inch. You must use digital calipers or rely on the coin trick method using a dime, penny, or quarter inserted directly into the clean bar groove.