
Views: 0 Author: Site Editor Publish Time: 2026-08-21 Origin: Site


Running a compromised chainsaw chain causes severe operational frustration and introduces significant safety risks on the job site. Operators often mistake premature wear for standard degradation, throwing away perfectly good steel or pushing dangerous, damaged equipment too far. In forestry and cutting applications, a chainsaw chain lifespan is rarely measured in chronological time or exact hours. Instead, we evaluate material wear, sharpening cycles, and cumulative operating conditions. You need a technical framework to evaluate chain health accurately. This guide identifies critical wear factors and helps you make the cost-benefit decision between aggressive maintenance and full replacement. You will learn how to read wear markers, assess the surrounding saw components, and maximize your cutting efficiency without wasting time in the field.
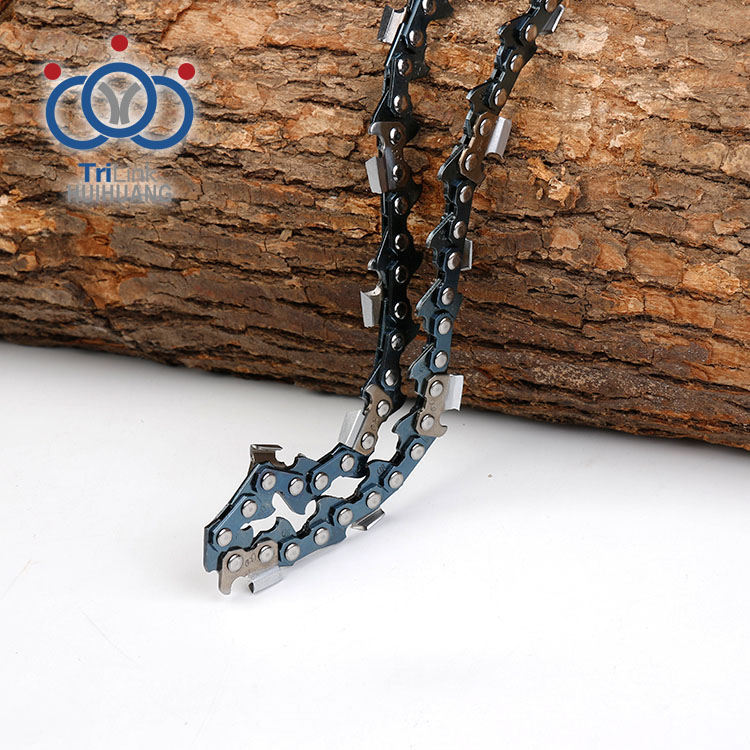
A standard chainsaw chain lifespan typically yields 5 to 10 proper sharpenings, provided the chain does not suffer catastrophic damage from foreign objects.
Chain longevity is heavily dependent on the "ecosystem" of the saw; a worn drive sprocket or damaged guide bar will rapidly destroy a brand-new chain.
Visual wear markers on the cutters dictate the absolute end of a chain's safe operational life, regardless of how recently it was purchased.
Industry standards dictate a 4-to-1 replacement ratio for guide bars and a 2-to-1 ratio for drive sprockets to maximize overall cutting efficiency.
Table of Contents
Evaluating chain longevity requires looking at material removal rather than the calendar. A standard semi-chisel or full-chisel chain under normal cutting conditions offers a baseline expectation of 5 to 10 proper sharpenings. Each time you pass a round file or grinding wheel across the cutter teeth, you remove a fraction of the top plate. The cutter consists of a top plate, side plate, depth gauge, and the working corner. The working corner does the actual severing of wood fibers. The top plate features a hard chrome coating over a steel chassis. You must file away the dulled or damaged edge to expose fresh, sharp steel underneath the chrome. Once you file the top plate back to its structural limit, the cutter can no longer sever wood fibers effectively. The number of sharpenings varies based on how aggressive your filing technique is and how much damage the cutter sustained during operation. Full-chisel chains have square corners that cut extremely fast but lose their edge quickly in dirty conditions. Semi-chisel chains feature rounded corners that hold an edge longer, extending the time between sharpening sessions.
Measuring lifespan in operating hours provides an inaccurate picture of chain health. A chain might easily last 40 hours for a wood carver working exclusively with clean, debarked timber. That exact same chain might last less than two hours for an operator bucking muddy, grit-embedded stump wood. Skidded logs drag through dirt, embedding small rocks and silica directly into the bark. Bark acts like a sponge for abrasive materials. When the chain strikes this grit, the cutters dull instantly. Clean wood allows the cutters to slice smoothly, generating minimal heat and preserving the sharp edge for extended periods. Operating conditions dictate wear rates far more than the engine's run time. Cutting frozen wood also changes the dynamic. Frozen timber acts like solid concrete against the cutters, requiring more frequent touch-ups and accelerating the overall wear on the top plate.
Different cutting applications demand different maintenance frequencies and set unique wear expectations. Continuous chainsaw carving requires precise, sharp tips. Carvers often touch up their chains every hour to maintain intricate detail work, leading to a shorter overall lifespan due to frequent filing. They typically use specialized quarter-inch pitch chains that have very small cutters, meaning there is less material to file away before the chain is dead. Seasonal residential firewood bucking generally involves cleaner wood cut on a sawhorse. A homeowner might use a single chain for multiple seasons, sharpening it only a few times a year. Daily professional forestry operations subject chains to intense, continuous stress. Professional loggers expect rapid wear and often rotate through several chains in a single week to maintain peak felling efficiency. They swap chains in the field rather than stopping to file, taking the dull chains back to the shop for batch grinding.
Many operators believe that chains physically stretch like rubber bands over time. Chains do not physically stretch. The steel tie straps do not elongate. Instead, the rivets and the holes within the drive links wear down due to friction. As these components grind against each other, the microscopic loss of metal increases the physical distance between each link. This cumulative wear across dozens of drive links results in a chain that hangs loosely from the guide bar. Proper lubrication minimizes this friction, but natural wear eventually causes the chain to lengthen beyond the tensioner's adjustment capacity. When you run out of adjustment room on the tensioning pin, the chain chassis is fully worn out. Removing a drive link to shorten the chain is a dangerous practice that ignores the severe structural degradation of the remaining rivets.

Accidental damage stands as the leading cause of premature chain death. Striking a hidden nail, a buried wire, or a rock can ruin a brand-new chain on its very first use. High-speed impacts shatter the chrome plating on the cutters and deform the steel underneath. Even if the tooth remains attached, the structural geometry is often destroyed. Silica and dirt act as a grinding paste against the chain. Cutting seasoned hardwoods also accelerates wear compared to green softwoods. Dry hardwood fibers are dense and brittle, requiring more mechanical force to sever, which dulls the cutting edge faster than the moisture-rich, pliable fibers of green softwood. Dead oak or hickory will test the limits of any cutter, often requiring a slightly different filing angle to maintain durability.
The species of wood you cut drastically alters the wear rate of your cutters. Softwoods like pine, spruce, and fir contain high moisture levels and less dense fiber structures. A sharp chain glides through softwood with minimal resistance, preserving the cutting edge for hours. Hardwoods like oak, hickory, and locust present a completely different challenge. The dense, tightly packed fibers of seasoned hardwood require significantly more mechanical force to sever. This increased resistance generates higher temperatures at the working corner of the cutter, dulling the steel much faster. Temperature also plays a critical role. Cutting frozen timber during winter months is akin to cutting concrete. The moisture inside the wood freezes solid, creating an incredibly hard surface that shatters the microscopic cutting edge of the tooth. Operators working in sub-zero temperatures must file their chains more frequently and often switch to a semi-chisel chain design. The rounded working corner of a semi-chisel cutter withstands the brutal impact of frozen wood far better than the fragile, pointed corner of a full-chisel chain.
A loose chain batters the guide bar rails and destroys drive links. When tension is too low, the drive links pull out of the bar groove and slam back down repeatedly. This peening effect flattens the bottom of the drive links, preventing them from seating properly in the sprocket. Lubrication failures compound this issue. Bar and chain oil reduces friction between the steel components. Inadequate oil flow causes friction to spike. The resulting heat expands the rivets, burns the bar rails, and destroys the temper of the chain steel. A dry chain will bind, overheat, and fail catastrophically in a matter of minutes. You must adjust your oil pump output based on the bar length and the viscosity of the oil. Winter cutting requires thinner oil to ensure proper flow, while summer cutting demands thicker tackifiers to keep the oil on the spinning chain.
Operator technique directly impacts the chainsaw chain lifespan. A sharp chain feeds itself into the wood. The operator only needs to guide the saw and let the engine RPMs do the work. When a chain dulls, operators often compensate by forcing the saw downward or leveraging the bumper spikes aggressively. Pushing a dull chain through wood generates excessive friction and heat. This heat transfers directly into the cutters, turning the steel blue. Blued steel has lost its factory temper. It becomes soft and will no longer hold a sharp edge, no matter how perfectly you file it. Forcing the saw also accelerates wear on the bar rails, strains the engine clutch, and increases the likelihood of snapping the chain mid-cut.
Manufacturers stamp visual wear markers directly onto the cutters. These witness marks typically appear as small lines engraved on the top plate and the side plate of the tooth. They serve a strict safety and performance function. You must locate these marks to evaluate remaining chain life. The hard rule is simple: once you file the cutter back to the witness mark, you must retire the chain. Cutting past this line compromises the structural integrity of the tooth. The cutter becomes too short to clear wood chips effectively, increasing the risk of severe kickback and chain breakage. The top plate angle also changes as you file further back, altering the cutting dynamics and making the saw harder to control.
Visual inspections must go beyond the cutter teeth. You need a strict checklist to identify fatal chain damage. Look for missing cutter teeth, bent tie straps, cracked rivets, and severely burred drive links. Running a chain with missing teeth creates a dangerous operational environment. The gap in the cutting sequence causes asymmetric loading. The saw will jerk violently in the cut, producing severe vibration. This vibration accelerates operator fatigue and causes uneven wear on the guide bar rails. Any cracked component means the chain is structurally compromised and could snap under load. A snapped chain whipping back toward the operator is a worst-case scenario that routine inspections prevent.
The drive links sit inside the guide bar groove and engage with the drive sprocket. Pull the chain from the bar and inspect the bottom points of the drive links. They should have a uniform, slightly pointed shape. If you notice flattening, burring, or excessive wear on the tips, the chain is failing. Flattened drive links indicate poor engagement with the sprocket or repeated bottoming out in a worn guide bar groove. Damaged drive links will not pull smoothly through the bar, causing erratic cutting performance and increasing the likelihood of derailing. If the drive links develop burrs from jumping the bar, you can sometimes file them flat with a flat file, but heavy peening requires full chain replacement.
The depth gauge, commonly called the raker, sits directly in front of the cutter tooth. It determines exactly how much wood the cutter bites into on each pass. As you file the top plate back during routine sharpening, the cutter becomes physically lower due to the rearward slope of the tooth chassis. If you do not lower the depth gauge to match this new height, the cutter will not reach the wood. The chain will produce fine dust instead of large, clean chips. Conversely, if you file the depth gauges too low, the cutters will bite too aggressively into the wood. This causes the saw to violently jerk, increases the risk of severe kickback, and places immense strain on the drive links and engine clutch. You must use a dedicated depth gauge tool and a flat file to check and adjust the rakers every third time you sharpen the chain. Maintaining the correct depth gauge clearance is non-negotiable for safe, efficient cutting and maximizing the usable life of the chain.
Clean the chain thoroughly with a wire brush to remove packed sawdust, bar oil, and sap.
Locate the shortest cutter on the chain to use as your baseline for filing or replacement evaluation.
Check the top plate witness marks on every cutter to ensure none have been filed past the safety line.
Inspect the tie straps and rivets for hairline cracks, focusing on the areas directly below damaged cutters.
Pull the chain away from the bottom of the guide bar to check for excessive slack and drive link peening.
Measure the depth gauges with a depth gauge tool to ensure they are set to the correct height relative to the cutter.
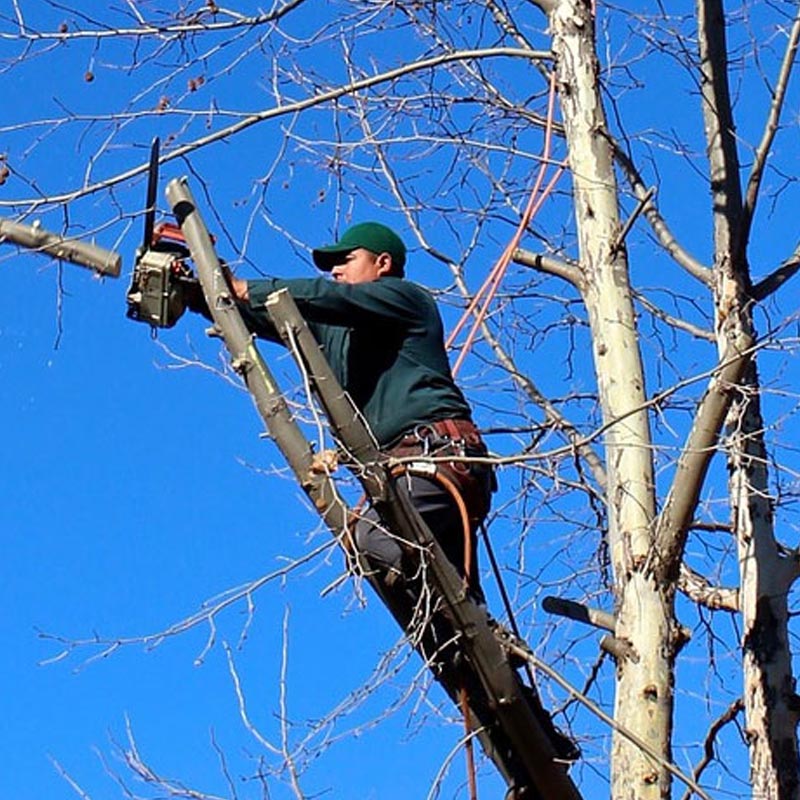
Chain health relies entirely on the surrounding components. The industry-standard ratio dictates that one guide bar typically lasts through the lifespan of four chainsaw chains. A worn bar will destroy a new chain. You must check the guide bar groove depth and rail squareness regularly. Use a depth gauge tool or the tip of a file gauge to ensure the groove is deep enough. If the drive links touch the bottom of the groove, the cutters will not ride flush on the rails. The chain will wobble, cut crooked, and wear out prematurely. You must dress the bar rails with a flat file to remove burrs and flip the bar daily to ensure even wear on both the top and bottom rails.
The drive sprocket transfers engine power directly to the chain. The pitch of the sprocket must perfectly match the pitch of the chain. Industry best practice introduces the 2-to-1 sprocket rule. You should replace the drive sprocket after cycling through two chains. A worn sprocket develops deep grooves where the drive links engage. Putting a brand-new chain on a deeply grooved sprocket is a costly mistake. The new chain's drive links will not seat correctly. The chain will rapidly wear at the rivets to match the stretched dimensions of the old sprocket, ruining your new investment. Rim sprockets offer a visual wear indicator and are cheaper to replace than spur sprockets, making them the preferred choice for professional saws.
Standard Component Replacement Ratios | ||
Component | Replacement Ratio | Primary Wear Indicator |
|---|---|---|
Chainsaw Chain | Base Unit (1x) | Cutters filed to witness marks; damaged links. |
Drive Sprocket | Every 2 Chains | Deep grooves or scoring on the drive teeth. |
Guide Bar | Every 4 Chains | Shallow groove depth; uneven or burred rails. |
Maintaining your chain requires choosing between manual hand filing and electric machine grinding. Manual round files remove material slowly. Hand filing allows for precise control over the cutting angle and preserves the maximum amount of steel per sharpening cycle. You can perform this maintenance directly on the tailgate of a truck using a simple stump vise. A skilled operator using a file guide can maintain the exact factory angles without removing unnecessary material. Electric bench grinders offer speed and consistency, especially for heavily damaged chains that require major angle correction. If you hit a rock and destroy the working corners on half your cutters, hand filing will take hours. A bench grinder restores the geometry in minutes. However, aggressive machine grinding can artificially shorten a chainsaw chain lifespan. Grinders remove significantly more steel per pass. If the operator applies too much pressure, the grinding wheel will overheat the cutter, bluing the steel and destroying its temper. You must use quick, light taps with a grinder to keep the steel cool. Never hold the grinding wheel against the tooth for more than a second at a time.
Operators must weigh the hourly cost of labor against the flat cost of a replacement loop. Spending forty-five minutes hand-filing a chain that struck a rock often costs more in lost productivity than simply installing a new chain. You need a practical decision framework in the field. If more than three cutters are missing, or if the teeth require extensive grinding to restore the working corner, replace the chain. Constantly filing severely damaged chains causes operator fatigue and frustration. Running a chain past its optimal cutting geometry creates safety liabilities and massive efficiency losses. Keep spare chains in your gear bag. Swap a damaged chain immediately and evaluate it later in the shop to decide if it is worth salvaging.
Verify your saw's exact pitch, gauge, and drive link count before purchasing any replacement chain to ensure flawless compatibility.
Inspect your current chain immediately for visual wear markers, missing teeth, and cracked tie straps.
Assess your guide bar rails with a proper depth gauge to confirm the groove remains sufficiently deep and the rails are square.
Replace your drive sprocket if you have already cycled through two chains on the current setup.
Invest in high-quality round files and a stump vise to perform accurate, on-site maintenance and extend your chain's operational life.
For users seeking dependable cutting solutions for forestry, wood processing, and related applications, Zhejiang TriLink Huihuang Co. LTD focuses on saw chain products designed to support reliable and efficient cutting performance. With industry experience and an emphasis on product quality and practical cutting requirements, the company provides solutions for a wide range of professional and everyday chainsaw applications.
A: Under normal cutting conditions, a standard chainsaw chain can be sharpened between 5 and 10 times. This number depends heavily on your filing technique and whether the chain has sustained impact damage from rocks or dirt. Once the cutter is filed back to the factory witness mark, it must be replaced.
A: Look at the top and side plates of the cutter teeth for stamped witness marks. When you file the tooth back to these lines, the chain is worn out. Additionally, missing teeth, cracked tie straps, or flattened drive links indicate the chain is structurally compromised and requires immediate replacement.
A: Yes. Dirt, mud, and embedded silica act as an abrasive grinding paste. Cutting dirty wood or skidded logs dulls the cutters almost instantly, significantly reducing the operational life of the chain. Clean wood allows the chain to maintain its sharp edge for much longer periods.
A: Rapid dulling usually results from striking rocks or dirt, cutting dry and hardened deadwood, or improper filing angles. If you force a dull chain through wood, the excessive heat destroys the steel's temper, making it soft. Soft steel cannot hold a sharp edge, causing it to dull rapidly after sharpening.
A: Follow the industry standard replacement ratios. Replace the drive sprocket after wearing out two chains. Replace the guide bar after wearing out four chains. Putting a new chain on a deeply worn sprocket or a damaged guide bar will rapidly destroy the new chain.
A: No. A "stretched" chain is actually suffering from severe wear at the rivets and drive link holes. Removing a link to shorten the chain does not fix the underlying structural wear. A chain that has worn past the tensioner's limit is unsafe and must be replaced entirely.
A: Hand filing removes less material, extending the overall life of the chain, and is ideal for routine touch-ups. Machine grinding is faster and better for repairing severe rock damage or correcting uneven cutter lengths. However, aggressive grinding removes more steel and risks overheating the cutters.