Views: 0 Author: Site Editor Publish Time: 2026-07-17 Origin: Site


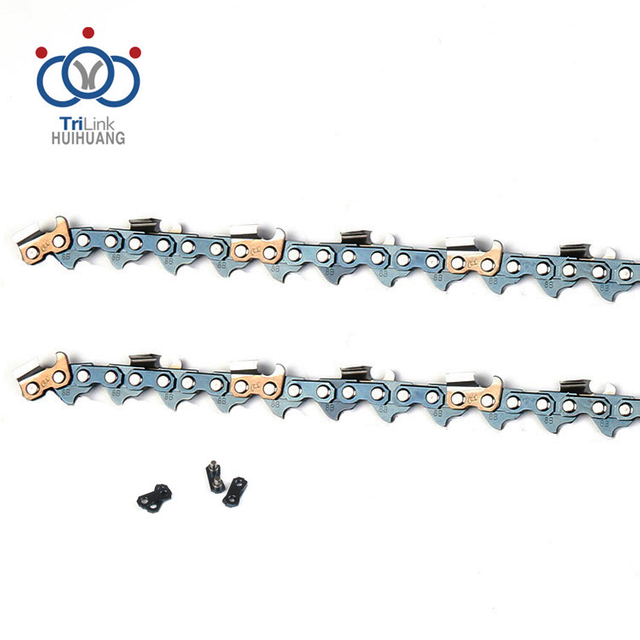
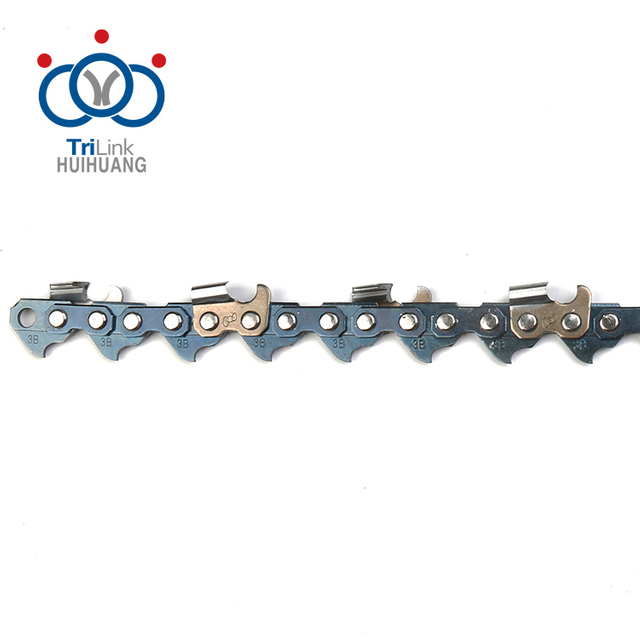
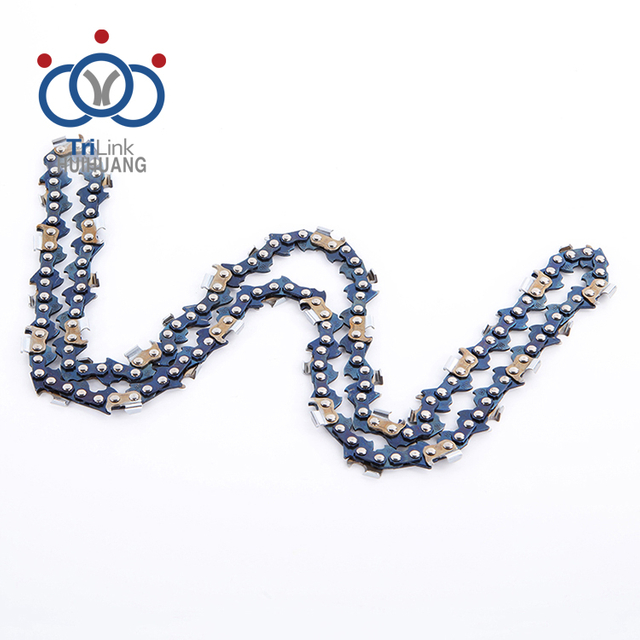
Operating a chainsaw with a dull, stretched, or mismatched chain severely degrades cutting efficiency, increases fuel or battery consumption, and introduces critical safety hazards. Selecting a replacement Chainsaw Chain requires navigating a complex matrix of exact mechanical specifications, including pitch, gauge, and drive links. You also have to account for performance variables like cutter profiles, sequence, and kickback ratings. These factors must align perfectly with both the saw's powerhead and the specific cutting application you are tackling on the job site.
This guide provides a technical evaluation framework to definitively identify your required chain dimensions, evaluate cutter profiles based on material conditions, and select a chain that balances cutting speed with operational safety. By understanding the mechanical geometry of your cutting equipment, you prevent drivetrain damage and ensure your saw performs reliably in the field.
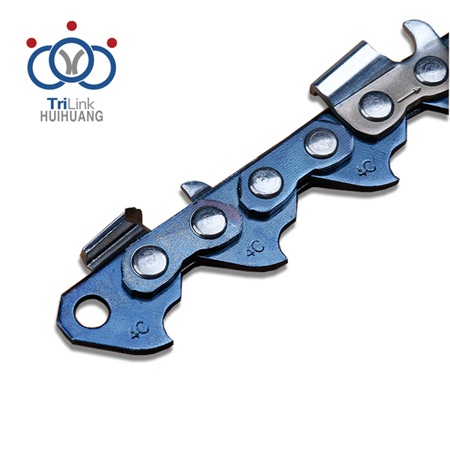
The Sizing Trinity: Every chainsaw chain replacement is dictated by three non-negotiable metrics: Pitch, Gauge, and Drive Link Count. A mismatch in any of these will result in operational failure.
The Bar Length Pitfall: Guide bar physical length (e.g., "18 inches") is not a standardized measurement for chains; matching the exact drive link count is the only way to ensure fitment.
Cutter Profile Dictates Application: Full-chisel chains maximize speed in clean timber, while semi-chisel chains sacrifice raw speed for superior edge retention in dirty, abrasive, or frozen wood.
Safety vs. Speed Trade-offs: Professional-grade (yellow-label) chains offer higher throughput but require advanced operator skill to manage kickback forces, whereas low-kickback (green-label) chains are engineered for consumer safety and compliance.
System Wear Realities: Installing a new chain on a severely worn guide bar or drive sprocket accelerates chain degradation and compromises cutting precision.
Table of Contents
Failing to match chain specifications to the saw's guide bar and drive sprocket prevents installation, causes derailment, or destroys the saw's drivetrain. Precision is the only option when selecting a replacement. You cannot force a mismatched chain to work, and attempting to do so will damage the guide bar rails and the drive sprocket.
Searching for a replacement chain based solely on the called bar length—such as 16", 18", or 20"—frequently leads to purchase errors. Guide bar length refers to the usable cutting length protruding from the saw body, not the total physical length of the chain loop. Different manufacturers use different drive link counts for the exact same guide bar length depending on the saw's specific design, the mounting pad geometry, and the sprocket size.
For example, a 20-inch guide bar on one brand might require 72 drive links, while a 20-inch bar on a competing brand requires 70 or 74 drive links. Buying a generic "20-inch chain" off the shelf without verifying the drive link count guarantees a high probability of fitment failure. The chain will either be too tight to mount over the sprocket or too loose to tension properly.
The easiest way to identify the correct specifications is to locate the stamped numbers typically found on the heel of the guide bar, near where it mounts to the saw powerhead. You may need to remove the side cover and wipe away packed sawdust and bar oil to read it. This sequence usually lists the pitch, gauge, and drive link count directly.
A typical stamp might read: 3/8" .050" 72 DL. Reading this stamp eliminates guesswork. It tells you exactly what the bar is machined to accept. If the bar has been replaced previously, always trust the stamp on the bar currently installed on the saw, not the saw's original manual, as aftermarket bars can alter the required chain specs.
If the guide bar stamp is worn off from years of use, you must manually measure the specifications. Pitch is the distance between any three consecutive rivets divided by two. Common pitch sizes include 1/4", .325", 3/8", 3/8" Low Profile, and .404". The pitch must match the drive sprocket and the guide bar tip sprocket perfectly. Larger pitch sizes generally correlate with higher displacement saws and greater power output.
Pitch Size | Typical Saw Displacement | Common Application |
|---|---|---|
1/4" | Up to 38cc | Pole pruners, carving saws |
3/8" Low Profile | Up to 45cc | Consumer saws, arborists |
.325" | 38cc to 60cc | Mid-range firewood cutting |
3/8" Standard | 50cc to 100cc | Professional felling and bucking |
.404" | 85cc and up | Heavy timber, mechanical harvesters |
Gauge defines the thickness of the drive link where it fits into the guide bar groove. Standard gauge measurements are .043", .050", .058", and .063". If calipers are unavailable, you can use the coin test hack to estimate bar groove width. Clean the groove thoroughly first. A dime fits a .050" groove, a penny fits .058", and a quarter fits .063". Using an undersized gauge causes the chain to lean and cut crooked, while an oversized gauge results in immediate binding.
Measuring chain length with a tape measure is entirely inaccurate. Instead, count the drive links—the lower, shark-fin shaped parts of the chain that ride inside the bar groove. Mark one link with a marker, then count sequentially until you return to the marked link. This exact count is the only reliable metric for length.

Evaluating the physical shape of the cutting teeth based on the primary cutting environment is essential for optimizing performance. You must match the cutter profile to the wood conditions.
Full chisel chains feature square-cornered teeth designed for maximum cutting speed and efficiency in clean, green wood. They slice through timber rapidly, severing wood fibers with aggressive precision. However, they dull exceptionally fast when exposed to dirt, sand, or grit. A single touch to the soil can ruin the cutting edge. They also carry a higher kickback potential, making them better suited for experienced operators working on clean logs.
Semi-chisel and micro-chisel chains utilize rounded-corner teeth that tolerate abrasive conditions, dirty bark, and frozen timber significantly better than full chisel designs. While they offer slightly slower cutting speeds compared to full chisel chains, their superior edge retention makes them highly practical for demanding, real-world environments like clearing storm damage or cutting skidded logs. They require slightly different sharpening techniques but are far more forgiving.
Low-profile chains are designed specifically for low-cc consumer saws and pole pruners. They reduce weight and power requirements while integrating aggressive anti-kickback features. The cutters are shallower, taking a smaller bite of wood per pass, which keeps the engine in its optimal RPM range without bogging down.
Standard cross-cutting chains utilize top-plate filing angles between 25 and 35 degrees to sever wood fibers across the grain. Ripping chains, designed for milling lumber parallel to the wood grain, feature a shallower 10-degree top-plate angle. This modified geometry produces smoother finishes on milled boards and reduces aggressive grabbing and vibration during long longitudinal cuts.
Manufacturers stamp a numbering system on the drive links to indicate pitch, gauge, and cutter type. Understanding these brand-specific codes verifies compatibility when switching between brands.
Brand | Drive Link Code | Pitch & Gauge Translation |
|---|---|---|
Oregon | 72 | 3/8" Pitch, .050" Gauge |
Oregon | 20 | .325" Pitch, .050" Gauge |
STIHL | 33 | .325" Pitch, .050" Gauge |
STIHL | 36 | 3/8" Pitch, .063" Gauge |
Husqvarna | H46 | 3/8" Pitch, .050" Gauge |
The spacing of cutter teeth impacts chip clearance, bar drag, and saw RPMs, particularly on longer guide bars. Choosing the right sequence keeps the saw running efficiently.
A standard sequence configuration places a cutter on every other drive link. This is the default setup for bars under 24 inches, providing smooth cuts, minimal vibration, and consistent performance across typical cutting tasks. It leaves a clean finish and feeds smoothly into the wood.
By removing cutters, the chain requires less power to pull through the wood and clears chips better in large-diameter cuts. Full-skip chains have a cutter, followed by two empty tie straps, then the next cutter. This is essential for guide bars over 24 inches or when running a longer bar on a lower-displacement powerhead. The trade-off is a rougher cut and increased vibration, but it prevents the saw from bogging down in massive logs.
Balancing operator experience level with cutting efficiency determines the overall value of a selected chain. Safety features directly impact how the chain behaves in the cut.
Low-kickback chains, often designated by a green label, meet strict ANSI B175.1 standards. They incorporate physical differences like bumper drive links and ramped depth gauges that mitigate kickback forces by preventing the cutter from taking too deep of a bite as it rounds the upper quadrant of the bar tip. However, these features severely reduce bore-cutting capabilities. Professional chains, marked with a yellow label, lack these aggressive safety features. They offer higher cutting speeds and excellent boring performance but require advanced skill and situational awareness to operate safely.
Carbide chains offer exceptional edge retention for extreme applications like rescue operations, demolition, or cutting wood with heavily embedded dirt and nails. The carbide plates are brazed onto the cutter teeth. The primary maintenance trade-off is the inability to hand-file them in the field. When they eventually dull, they require specialized diamond grinding wheels for sharpening.
Ensuring the new chain operates safely and reaches its expected lifespan requires proper installation and ongoing maintenance. Neglecting the drivetrain ruins new chains instantly.
A worn drive sprocket will instantly stretch and ruin a new Chainsaw Chain. Inspect sprocket wear patterns regularly. If the drive links have worn grooves deeper than 0.5mm into the sprocket, replace it. A standard rule is replacing the sprocket every two chains. Additionally, check guide bar rails for burrs, uneven wear, or pinched grooves that can restrict chain movement. Dress the bar rails flat with a flat file if they show mushrooming.
The chain's drive link oil holes and oiling channels are critical for preventing catastrophic heat buildup. Ensure the guide bar oil ports are completely clear of sawdust and debris before mounting the new chain. Run the saw without the side cover briefly to verify oil is pumping from the powerhead, then mount the bar and chain and run it over a stump to check for oil sling.
Correct tension is vital for safety and equipment longevity. Perform the snap test: the chain should sit flush on the bottom rails but pull freely by hand, snapping back into place when released. Account for thermal expansion by tensioning cold. Always loosen a hot chain before it cools and contracts. If left tight, the contracting metal will bend the crankshaft or destroy the clutch bearings.
Loosen the bar nuts slightly.
Lift the nose of the guide bar upward.
Turn the tensioning screw until the chain touches the bottom rails.
Tighten the bar nuts while keeping the nose lifted.
Perform the snap test to verify smooth movement.
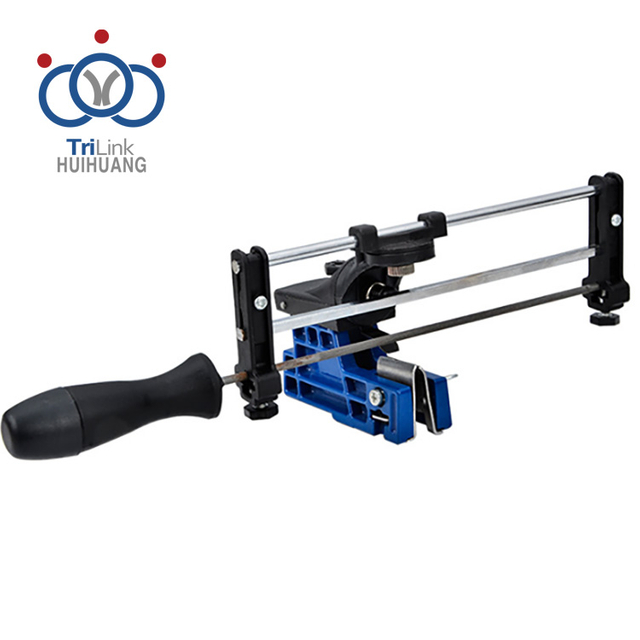
Selecting a chain dictates future maintenance requirements. You must match specific round file diameters and depth gauge tools to the chain's exact pitch and cutter design to maintain optimal cutting geometry. Using a 7/32" file on a .325" pitch chain will ruin the cutter profile, just as using a 3/16" file on a 3/8" standard chain will create a weak, hooked edge.
The right chainsaw chain is more than just a replacement part—it is essential for cutting efficiency, operator safety, and the long-term reliability of your equipment. Selecting the correct specifications and maintaining the chain properly will help you achieve cleaner cuts and reduce unnecessary wear on your saw.
Zhejiang TriLink Huihuang is a trusted manufacturer of chainsaw chains, guide bars, and forestry cutting solutions. With advanced production capabilities, strict quality standards, and comprehensive OEM/ODM services, the company delivers reliable products for professional forestry users and outdoor power equipment brands worldwide.
Inspect your current guide bar for stamped specifications to lock in the exact pitch, gauge, and drive link count.
Evaluate the condition of your drive sprocket and replace it if wear grooves are visible before installing the new chain.
Select a semi-chisel profile if you frequently cut skidded logs, dirty wood, or clear brush near the ground.
Clean the guide bar oil ports and groove thoroughly before mounting the new chain to ensure proper lubrication.
A: Locate the stamp on the heel of your guide bar, which lists pitch, gauge, and drive link count. If the stamp is unreadable, manually measure the pitch between three consecutive rivets, check the gauge thickness, and count the total number of drive links.
A: Chains are interchangeable across brands if the pitch, gauge, and drive link count match exactly. However, you must translate brand-specific codes on the drive links to verify compatibility before installation.
A: A 3/8" pitch chain is larger and heavier than a .325" pitch chain, generally requiring a more powerful engine over 50cc. The .325" pitch offers smoother, faster cuts on mid-range saws and reduces vibration.
A: Chain length must exactly match the installed guide bar. Upgrading length requires buying a new, compatible bar and chain combo that matches your powerhead's capabilities and oiling capacity.
A: Measure from the front of the saw body where the bar emerges to the tip of the guide bar. Round to the nearest even number. Remember, this is the called length, not the exact chain size.
A: New chains experience a brief break-in period where the rivets seat. However, rapid stretching usually indicates a worn drive sprocket, insufficient bar oil, or running the chain too tight initially.
A: Replace the chain when the cutter teeth are filed back to the witness marks, if drive links are heavily battered, or if the chain has broken tie straps. Damaged chains pose severe safety risks.